


Wooden subfloors have their own unique set of issues that you need to address prior to installation of the final flooring, or you’ll be hearing about it in the years to come. Mainly squeaking, popping, and groaning resulting from low spots or high spots where the flooring flexes underfoot. Once you’ve removed the old flooring, (Let’s assume this is an older home, and a new home will most likely – although not always – have a sound, level subfloor), it’s time to check for low spots, high spots and sags with a level, a true edge of a long board, or a strin
One of the common culprits is the edge where plywood subfloor sheets meet. These are easily sanding down to a smooth joint with an edging sander or a belt sander. Saddles and other high spots can be minimized with roofing or flooring felt built up in tapered layers leading up to the high spot. Big dips may require a bit more carpentry, such as installing strips of ply in the valley to provide a “bridge” over the low spot.
Depending on the condition of the old subfloor, you may opt to simply tear it all out, check the level of your joists, then reinstall a new ply subfloor. While you’ve got the floor open, you may also consider adding some rolled or rigid insulation for sound deadening. It’s extremely inexpensive, and can give peace to those living areas below the new wooden floor.
Remember that screws will hold better over the long run, so attach your ply to the joists using screws rather than nails. Decking screws work great with their “fast” thread and coating. Make sure the heads are driven slightly into the ply so they don’t create high spots.
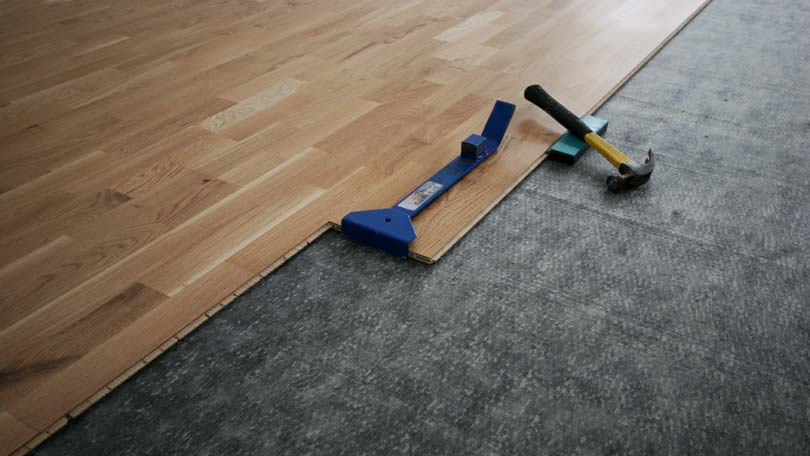
There’s some debate about whether to use an underlayment prior to installing a hardwood floor. Rosin paper or the more preferred #15 roofing felt are the most common flooring underlayments, and offer the benefit of minimizing squeaks by helping to create a leveling cushion. Lay the felt or paper in the same direction of the finished flooring will run, and overlap the edges by 3 or 4 inches. Now you’re ready to begin installing a hardwood floor over the top!
Preparing Cement Subfloors
Cement subfloors common in basement areas and southern homes present their own challenges. First, run a string, level or straight-edge board over the entire floor and map out your highs and lows. If the floor has been painted, you’ll need to remove this, so you might want to rent an orbital floor sander with the appropriate paper for cement, or kill two birds with one stone and rent yourself a leveling grinder which will not only remove paint, but level down your high spots to a uniform level. Alternately, you may want to build up the low spots with leveling compound, which must be screed (pulled in front of a straight-edge board) over the low spot. Finish the edges with a cement trowel.
Moisture and Cement Subfloors
Moisture is a whole topic onto itself with cement floors. (Be thankful if you’re in the sunbelt!) If you even suspect your slab may have slight moisture issues, due your homework and prep now before you spend time and money installing hardwood floors that will be compromised down the road. Two specific moisture measurements need to be considered. Relative humidity within the home needs to be measured, and you should not attempt a glue down – even on a nice, dry slab – unless the humidity levels fall within 40% to 60%. So if it’s raining, let’s say, put it off for another day.
Two useful tools for measuring humidity are an Rh meter (for relative humidity in the air), and a cement moisture meter (which tells you if you’ve got moisture issue in the slab.) Another way to test for slab moisture is to tape a few pieces of poly film to the bare slab and leave for a day or two. If you see moisture collected beneath the film, or even a darkening of the cement beneath it, you’ll need to seal your slab.
Sealing Your Concrete Subfloor
Floating hardwood floors can be installed over a painted-on sealer from your local hardware store, but an actual sheet plastic vapor barrier is also recommended. For glue down hardwood floors, you must be very careful to use complimentary sealing and gluing systems, as some sealers won’t allow good adhension of the glue which of course, defeats the entire purpose. Although more expensive, we recommend purchasing your sealer and urethane glue from a single manufacturer as part of a system. Use a knowledgeable flooring retailer who can help you choose the appropriate brand for the type of wood flooring you’ll be installing.
Installing a Wooden Subfloor on a Concrete Slab
While floating floors have their place, many prefer the more solid feeling of a glue down wooden floor. And while gluing directly to concrete can work, many installers prefer a plywood subfloor over cement prior to installing hardwood floors. Typically, they’ll use a CDX grade of ply at a minimum of 5/8” thickness. The ply is installed over the poly vapor barrier and attached to the slab via concrete nails or concrete screws. Another method is direct gluing of the ply to the slab, but here again, use a system of glue and sealer that is designed to work together.
Engineered Floors and Concrete
While you can install a ¾ inch glue down floor of solid wood on concrete, we recommend an engineered floor which is inherently more stable. The two different materials of cement (in the slab) and wood (in the flooring) will expand and contact and react to humidity differently. Why chance it with solid wood? Engineered wood offers you all the color and species choices of solid – and maybe more – while giving you a much more stable material. Remember engineered floor must be used in any subterranean (basement) applications, and always over radiant heating.